THETA Magic Filters
I used the THETA Magic Filters plug-in, the newest Partner Plug-in (plug-ins made for THETA by independent developers, not RICOH) available through the THETA Plug-in Store. The plug-in processes images and quickly generates interesting transformations of your THETA pictures. It was created by Ed Oliver and Victor Altamirano.
Getting Started
I’m connected to my THETA V via USB from a Windows 10 laptop. My THETA V is running firmware 3.10.1. The RICOH THETA desktop app is 3.11.1, the latest version at the time I’m writing this.
I used a browser to go to the THETA Plug-in Store and clicked on THETA Magic Filters. I clicked the Install button. It downloaded quickly.
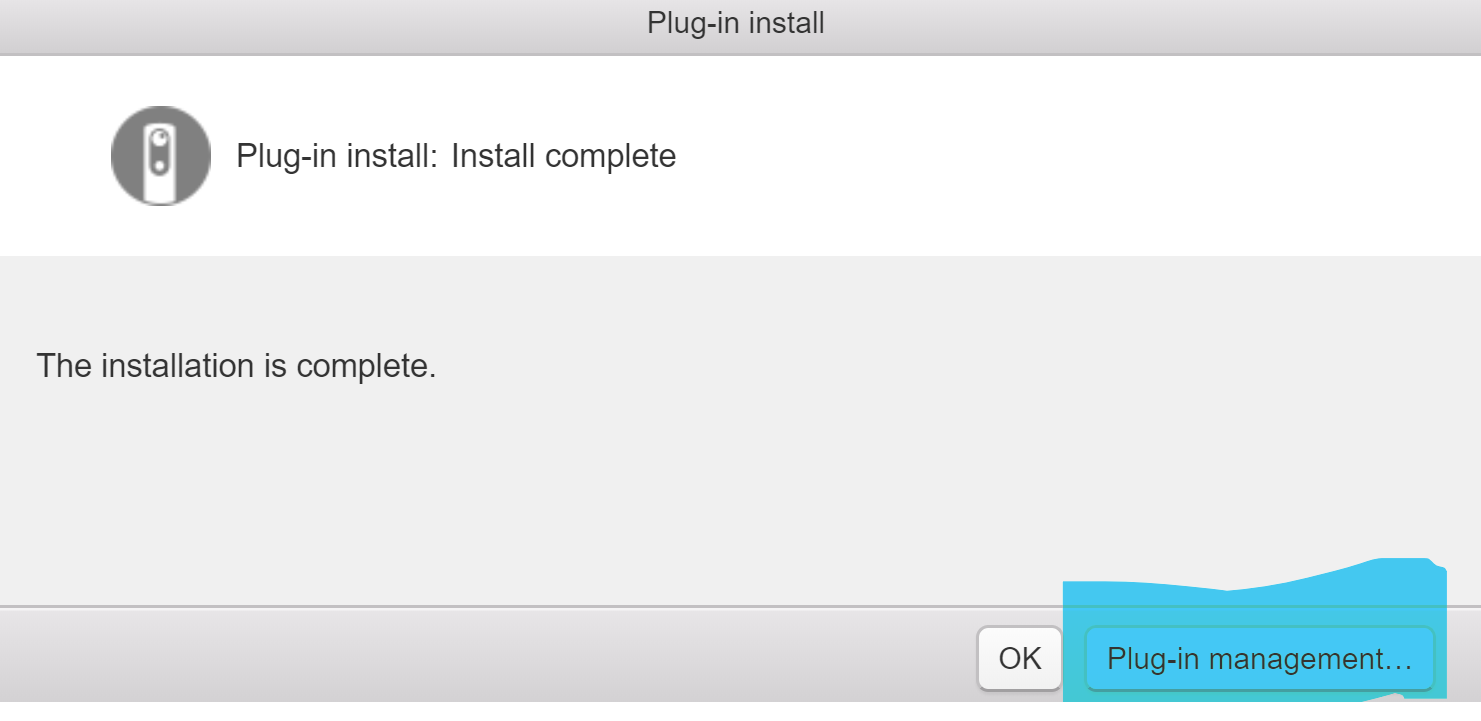
You can go right into Plug-in management as soon as the installation is complete. I set Theta Magic Filters as my boot up plug-in.

I did not need to restart. I pressed the Mode Button on the side. The White LED came on indicating it had switched into Plug-in Mode and was ready to go.
I tested it out. You can pick 6 different transformations.
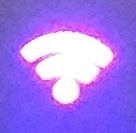
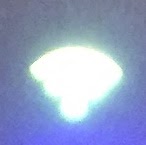
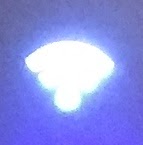
Using the Mode button on the side you can cycle through the 6 transformations. Use a quick button press to switch among them. A longer button press will drop you out of Plug-in Mode entirely. You start with Image Equalization (blue Wi-Fi icon). It always toggles through in the same order.
Settings
 Blue - Image Equalization - adds color to enhance the image
 Green - Image Binarization or Threshold - Image is converted to bold red, green and blue colors, super cool
 Cyan - Grayscale - Takes all the color out of the image
 Magenta - Blur - Blurs the whole image, not sure when this would be used
 Yellow - Erosion-Dilatation - Just black and white, super cool
 White - Negative - Close to Sepia and negative combined
The directions for using the plug-in state that after you take the picture the Wi-Fi icon will flash, indicating that it is processing the image. “Do not press any other button, this process takes 1 - 4 seconds depending on the filter.” In my use, the Wi-Fi icon would flash for less than a second at most – basically did not flash – so it appears that the processing happens quite quickly.
If you take one image each, it will look like this in File Manager in Windows. The plug-in creates a folder called Filtered Images, and it keeps the original for each image transformation. Notice how it changes the file names.
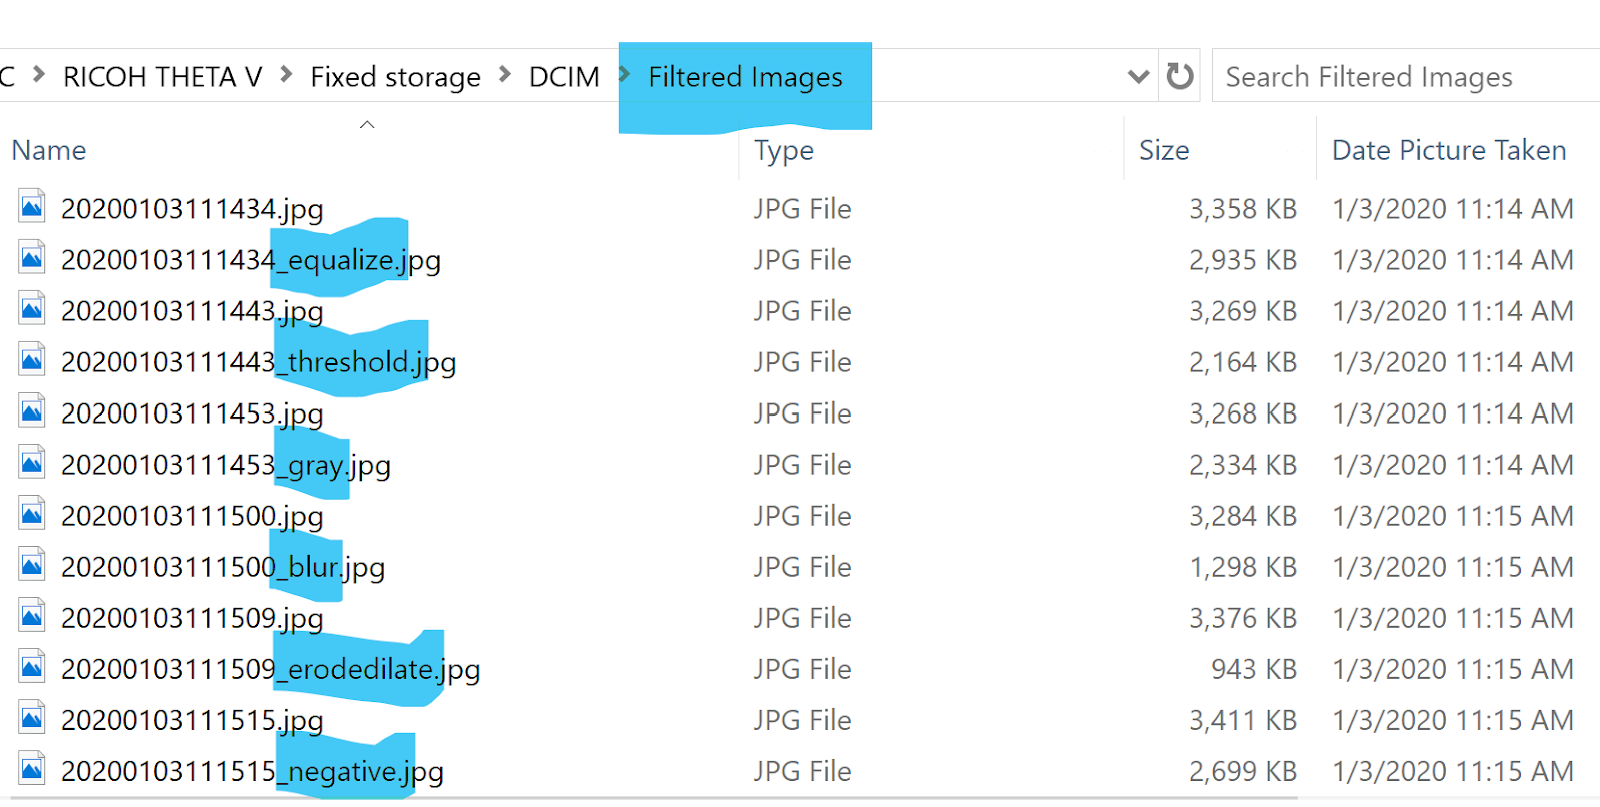
A note on file sizes: As you can see in the screenshot above, all of the processed images are smaller than their originals. It can be as small as one-third the original. I guess this is because the transformations delete a certain amount of the original RGB data.
Examples
Black and White (Erosion-Dilatation)
Image Binarization or Threshold (Red, Green, Blue)
Summary and Extra Comments
This plug-in is easy to set up, fun to use, and provides a quick way to do more with your THETA pictures. I like it, it feels artsy and different.
When the transformations are applied, I’ve noticed that the stitch lines between the two hemispheres become more pronounced. In the original image, it is almost imperceptible. But in the transformation, it is noticeable. For this reason, I am more interested in using the following 3 transformations where you don’t really care about any stitch line:
- Grayscale
- Black and White (Erosion-Dilatation)
- Image Binarization or Threshold (Red, Green, Blue)
But by all means, try all 6 yourself!